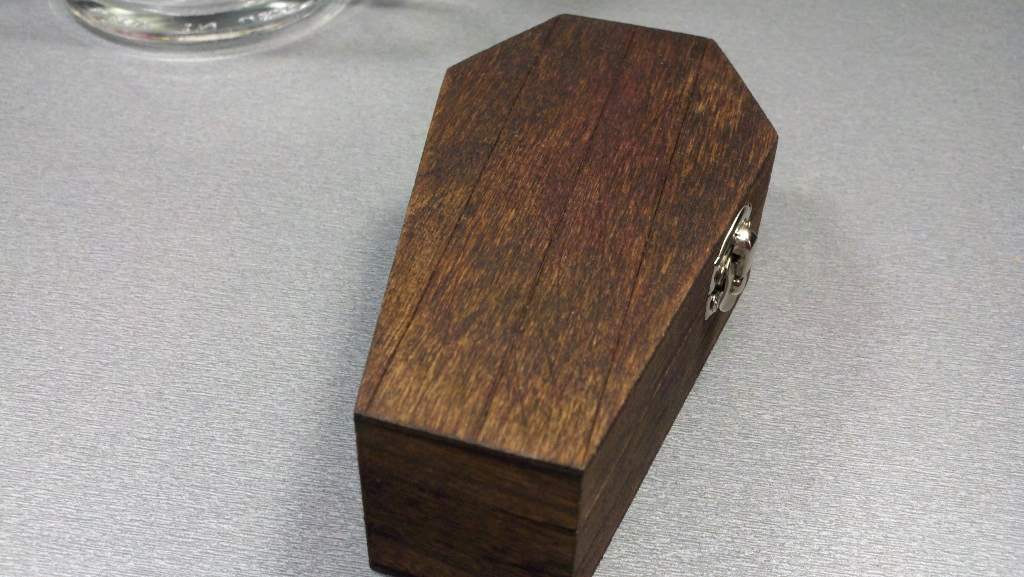
In my earlier post, “Halloween arrives at Michaels“, I told you about the $1 miniature wooden coffins for sale there. I bought one and thought I would try my hand at decorating one. Here’s the result, my new business card holder for my desk (name hidden to protect the innocent, and my job)
And a shot of the outside:
This was admittedly a pretty simple job, nothing like the awesome coffins in my “Grave Undertaking” post. Still, I was pretty proud of my effort. Here’s what I did:
- Use an X-acto or utility knife and a straight-edge to cut lines for the ‘planks’ on the lid and sides. I just scratched out one simple cut for each line. But you could carve out small grooves if you wanted to make the lines more pronounced.
- Remove the hinges and latch. You will need a small screwdriver for this.
- Stain the wood with your favorite stain. I applied some Min-Wax walnut stain with a small brush. But you could use one of the stain markers that you can also buy at Michaels.
- Let the stain dry. It actually took a few days until it wasn’t sticky anymore.
- Attach the hinges and latch – and you are done!
One problem I had with staining was that there was some dried glue on the inside of the coffin. So the wood would not take the stain in those areas I ended up coloring the area with a brown marker, but the color was not an exact match (You can see a bit of this on the lid in the first picture). So you may be better off painting the inside or lining it with another material, like felt.
I bought several more coffins and have a lot of ideas. I’ll keep you posted. But meanwhile, why don’t you drive the hearse down to Michaels and get a few yourself?
ScreaminScott says ‘dig it up!’


