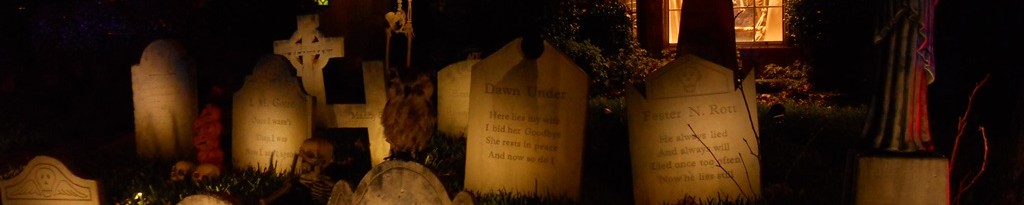
Home haunters like to name their haunts. Some call them “Bob” or Sue” (OK, not really). Others think up really elaborate names like “The Dungeon of Everlasting Torment” (Actually, that’s not bad.. let me make a note).
But I’ve been calling my humble yard haunt “Stonehaven Manor” for a few years, if only in my head. Stonehaven is the main street that runs through our neighborhood and past our house. The name has a nice imposing feel to it.
So I decided to make a sign for the yard. I have a lamppost at the corner of the yard that was a perfect place to hang it. I also created a little photo-op under the lamppost, with a bench and a skeleton for kids to sit and roll their eyes while parents take pictures (and teenagers to create in appropriate poses with the skeleton… but I digress). So I hope that the name of the haunt will make it into at least some pictures for posterity.
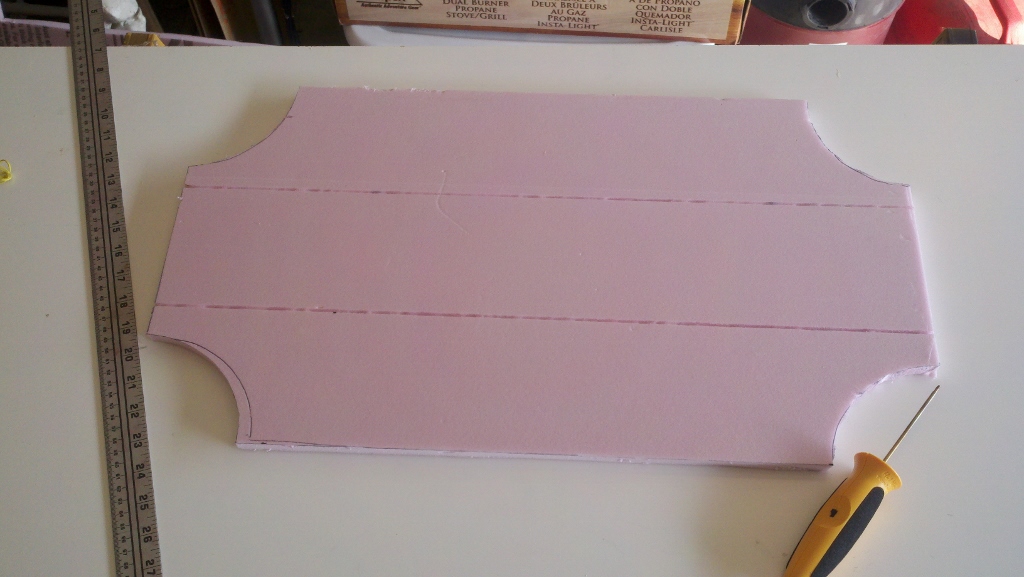
I started with a mockup of the sign, out of cardboard and paper, to get the size right.

That cool font is “Ravenscroft”, which you can find at mickeyavenue.com. It was inspired by the font used at Disney’s Haunted Mansion. I learned about it from Doombuggies.com which is another fun site you should visit if you are interested in all things Haunted Mansion.
The sign went through several revisions in my head, but I always wanted it to look like a old weathered wooden sign. So when I cut it out of 1/2″ insulating foam, I carved lines into it to make it look like three wooden boards connected together. I have no idea if this is the way signs are made, but it looked neat to me.
That tool in the bottom right hand corner is a hotwire engraving tool from Hot Wire Foam Factory. That’s what I used to engrave the lines in the foam board, and the wood grain below:
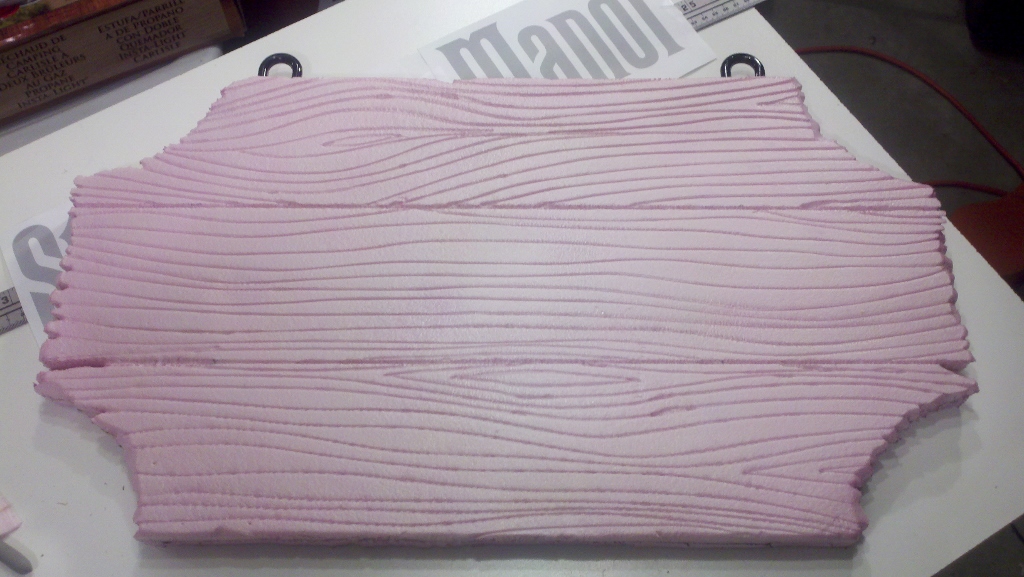
The picture above actually skips several steps after the carving of the wood grain. First, I cut another piece of foam board to use for the back, making my sign 1″ thick. Then I made some loops at the top to attach the sign to the lamppost. Those are actually the corners of a plastic coat hanger, heated with a heat gun to soften and bend them a bit more, then painted black. I carved out some channels in between the 2 pieces of foam and glued the plastic ‘loops’ in there, then glued both boards together. Finally, I used a different hot wire tool (the sculpting tool) to trim off the corners and make the rough edges.
Then it was time to carve out the lettering. This is the same method I used for all my tombstones
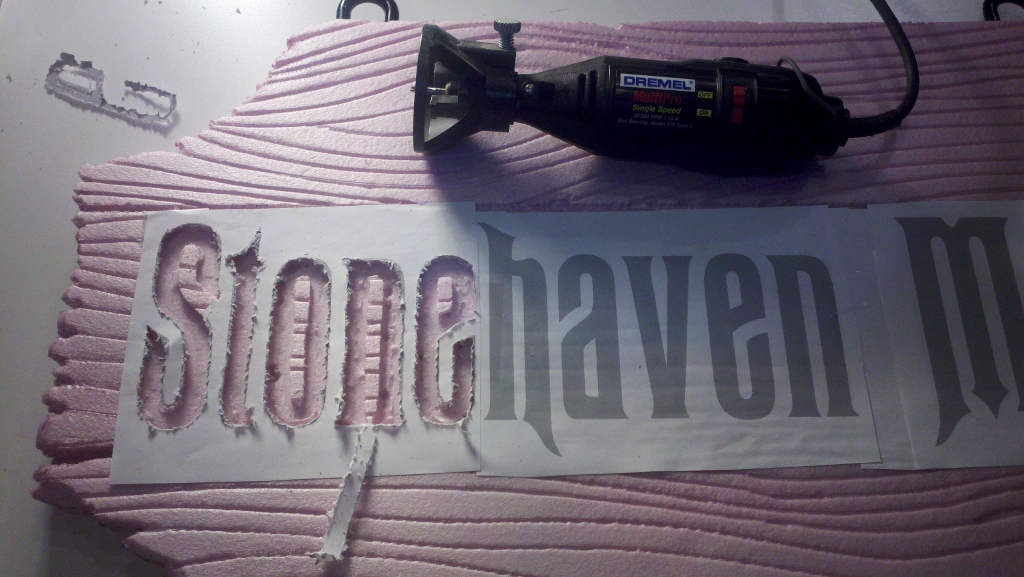
I printed off the lettering onto plain paper (I changed the font color to gray, just to save a little ink). Then I glued the paper to the sign. Here’s the trick : use Krylon Easy-Tack temporary spray adhesive. It doesn’t bond permenantly (kinda like a Post-It note). I used a Dremel tool with a 1/8″ router bit and a drywall cutting attachment to carve out the lettering.
It takes a bit of practice to learn to approximate the shape of the letters when you can’t make all the sharp corners with the round router bit. And you need to carve in short sections, since the foam will melt and create little hard balls of polystyrene that can gounge out your foam. But still, its not too hard, and the results are great!

After I was done with the carving, I ran a heat gun over the entire piece. You can’t tell it in this picture, but it rounded sharp edges of the carvings a bit, while slightly melting and hardening the surface. I practiced this on a piece of scrap first!
Now it was time for the paint.
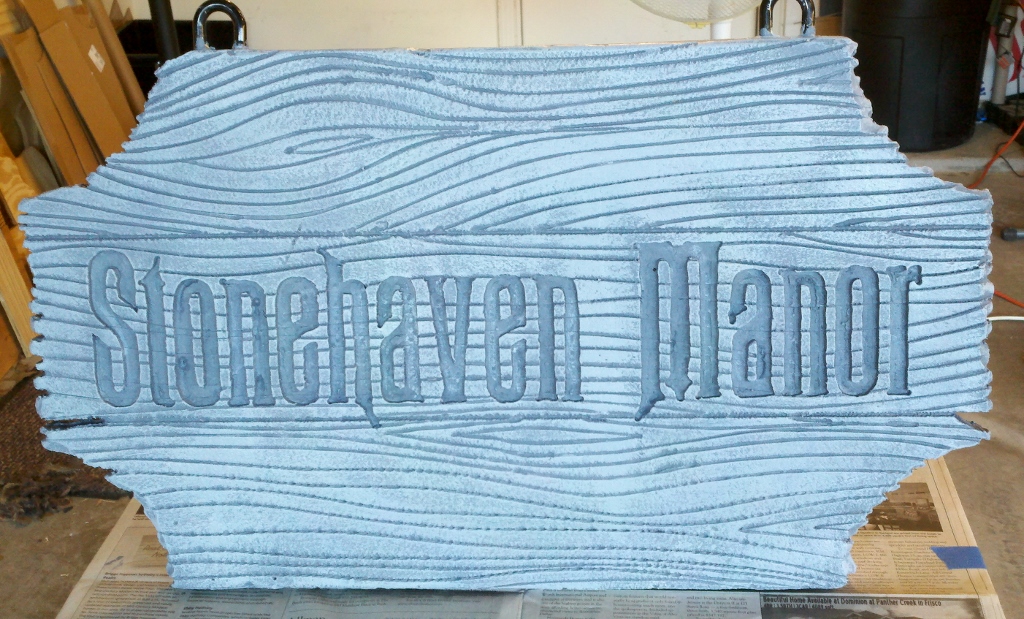
There is a trick for painting textured items like this. It’s called “dry brushing”. First I painted the entire sign a dark gray. Then I dry brushed a lighter gray over the top. Dry brushing involves wiping most of the paint off the brush (I did it by painting back and forth on a piece of newspaper), then lightly brushing over the surface of the sign. This technique only leaves paints on the high points, which really reveals the texture.

Finally I just attached it to the lamp post with some ‘S’ hooks
All in all, I’m pretty proud of the result, if I do say so myself!
Stonehaven Manor is almost for Halloween!


